The 24 Hour Landscape Photography Feast
For many of us “responsible adults”, family and work commitments put a severe limitation on extended photography trips. But I’ve found a formula where you can “feast” on an all-you-can-eat photography trip in a 24 hour period that is sure to satiate your photography appetite. For argument’s sake, we’ll imagine that our trip is a single overnight. For example, leave Friday return Saturday, or leave Saturday return Sunday. My template for this type of trip goes a little something like this …

Pierce Point Ranch in morning fog.
Day 1
Morning - Travel to Location
Lunch
Mid Day - Scout locations
Afternoon - Shoot
Evening - Shoot Sunset
Dinner
Processing
Day 2
Shoot sunrise
Breakfast
Mid morning shoot
Travel Home
Travel to Location
I live in Southern California. My goal is to be at the location by midday. After a leisurely start (say 9AM starting in San Clemente) I can be as far away as Santa Barbara or Joshua Tree by lunchtime. However, if you’re a motivated shooter, it’s surprising how far you can drive if you get up early in the morning. Leave early enough and I could be on location in Monterey, Yosemite, Lone Pine or even Southern Utah by midday. I’ve left the house at 4AM, and even shot a morning session at a location 2-3 hours away, which adds a whole extra shooting session to your trip.
I made this image shortly after arriving at location on day 1 of a trip to Lone Pine. We left the house early enough that we got some mid-morning light.
Day 1 Lunch
It’s important that when you arrive at your destination, you take the time to eat a good meal. There’s no sense in rushing out to photograph in the middle of the day on an empty stomach. The light is going to be bad, and by the time the good light appears in the evening you’re going to be starving. So take time to have a good lunch. Sit down with your team and formulate a plan of attack for the afternoon. Also, make sure you’ve got plenty of water and snacks for the afternoon.
Day 1 Midday
I know you’re itching to shoot, but your goal in the first few hours on location is to scout, scout and scout. Your goal is to find, at a minimum, four good shooting locations and make test compositions/exposures at each location. Use your sun azimuth calculator to find locations for the following scenarios:
Late afternoon
Sunset
Sunrise
Late morning
Day 1 Afternoon
Finally, time to shoot! You’ll probably have a 2-3 hour window in the afternoon where it’s still bright daylight, but the sun is lower in the sky and the light is pleasing. Use this time to move around, make lots of exposures and have a good time.

Afternoon adventures net exciting results. I “found” this image driving along a dirt road in the eastern Sierra.

This is my afternoon scouting image, can’t wait to return and photograph here at sunrise.
Day 1 Sunset
As you get closer to golden/blue hour, you will want to settle on a single location and fix your composition. This is one of your two “big” shots for the weekend. Get the tripod set, and tweak and tune the image to perfection in advance of sunset. As the sun sets, keep shooting as the light changes from a golden glow into a deep blue.
Blue Hour Tips
There are two things to note about blue hour. First is that once the sun sets, the ratio of brightness from sky to terrain is not going to change. This seems counterintuitive. But I assure you, you can photograph until it’s almost pitch black and the sky will always be brighter than the terrain by the same amount. So get your grad filters dialed in IMMEDIATELY after the sunsets and don’t mess with them.
Second is that as blue hour progresses, you’re going to start with lots of ND, then a little ND, then none. One of the advantages of the Wine Country Camera filter holder system is the ability to swap out your ND filter quickly and efficiently “in the heat of battle” without disturbing critical focus or composition.

The East Quoddy Head lighthouse immediately after sunset. This exposure is 25 seconds with a 6 stop ND.

East Quoddy Light House. This exposure was deep into blue hour, 25 seconds with no ND. Note that the ratio of luminance from sky to terrain hasn’t changed from the previous photo.
Day 1 Dinner & Processing
Dinner is a great time for you and your team to recap the day’s shooting and make plans for the following morning. Get those cards downloaded, take a quick glance through your files to make sure you’re happy with the work you’re producing, make mental notes about adjustments you’ll make for tomorrow’s shooting, have a glass of wine and get to bed early.
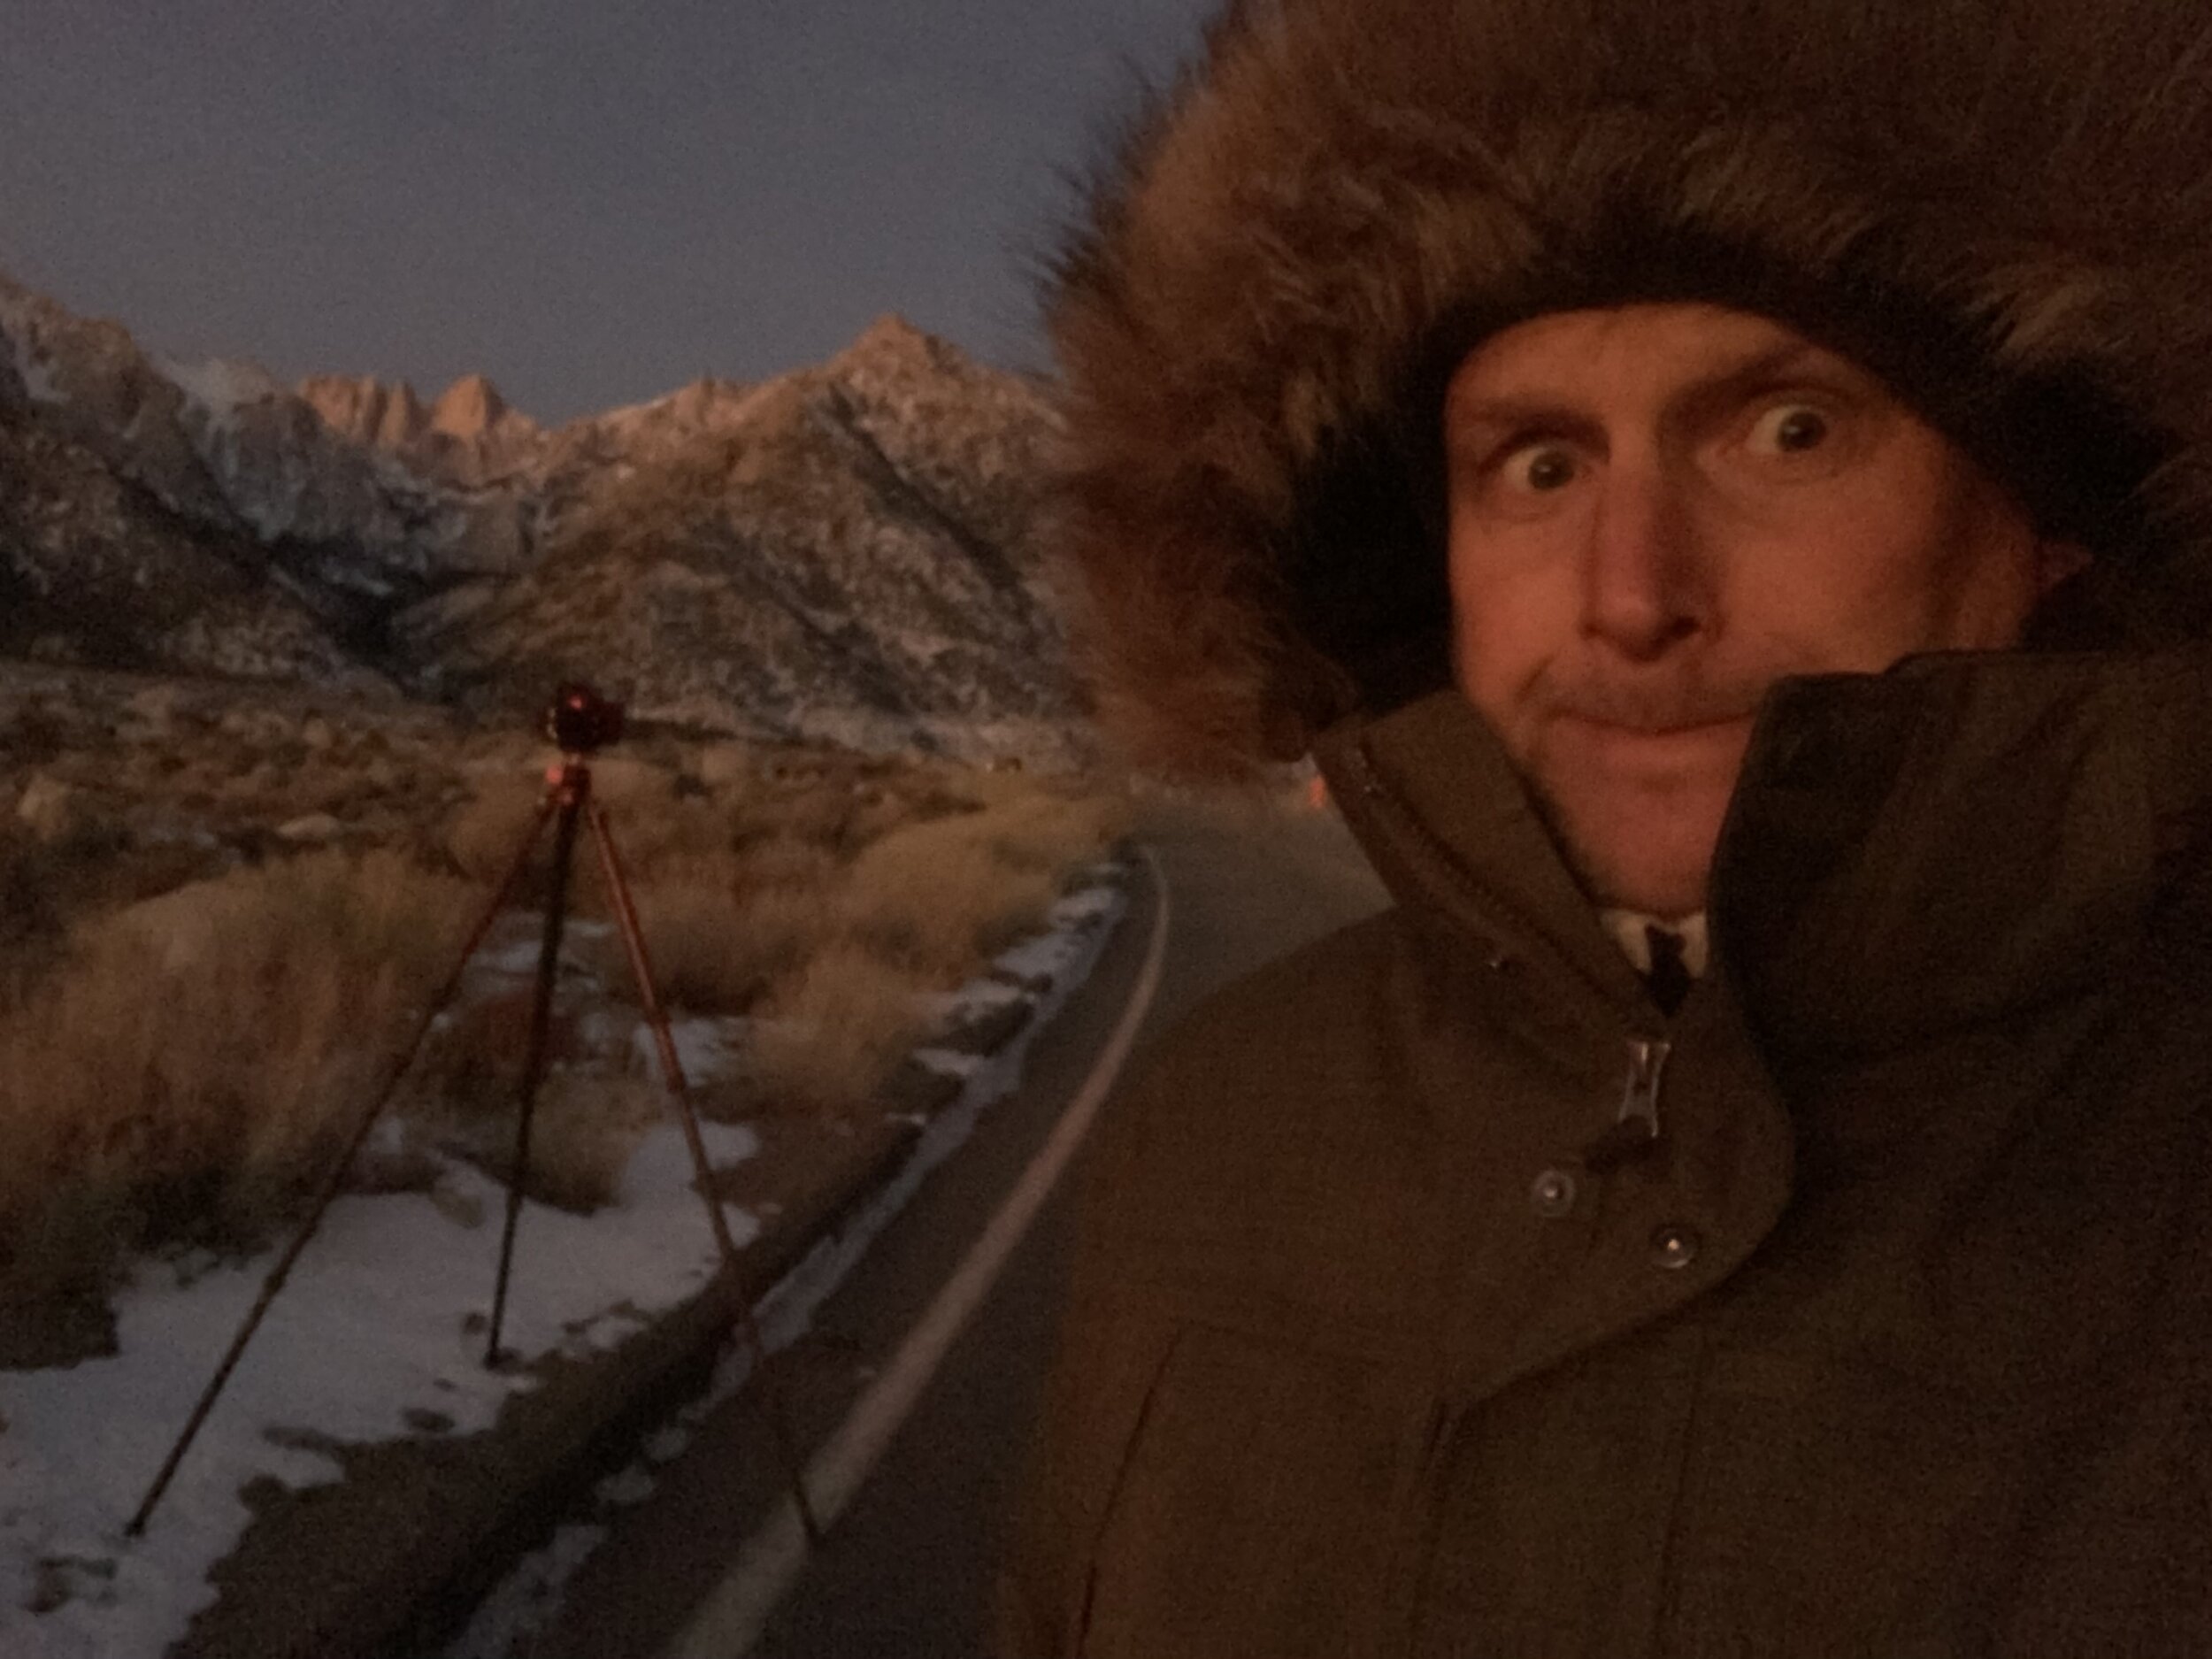
Day 2 Morning
You want to work backwards from sunrise to plan your morning. If the sun rises at 6:30, you should plan on standing at your location at 5:30 and be ready to shoot by 5:45. Depending on how much time you need to wake up, make a hotel room coffee, and travel to location, you’ll very likely be up at 4:30. Starting early is what separates us from mere mortals and tourists. Landscape photographers GO EARLY. Fortunately, your body it’s going to be hungry at this hour. You might even consider skipping the coffee for the morning shoot to keep your digestive system dormant until breakfast time.
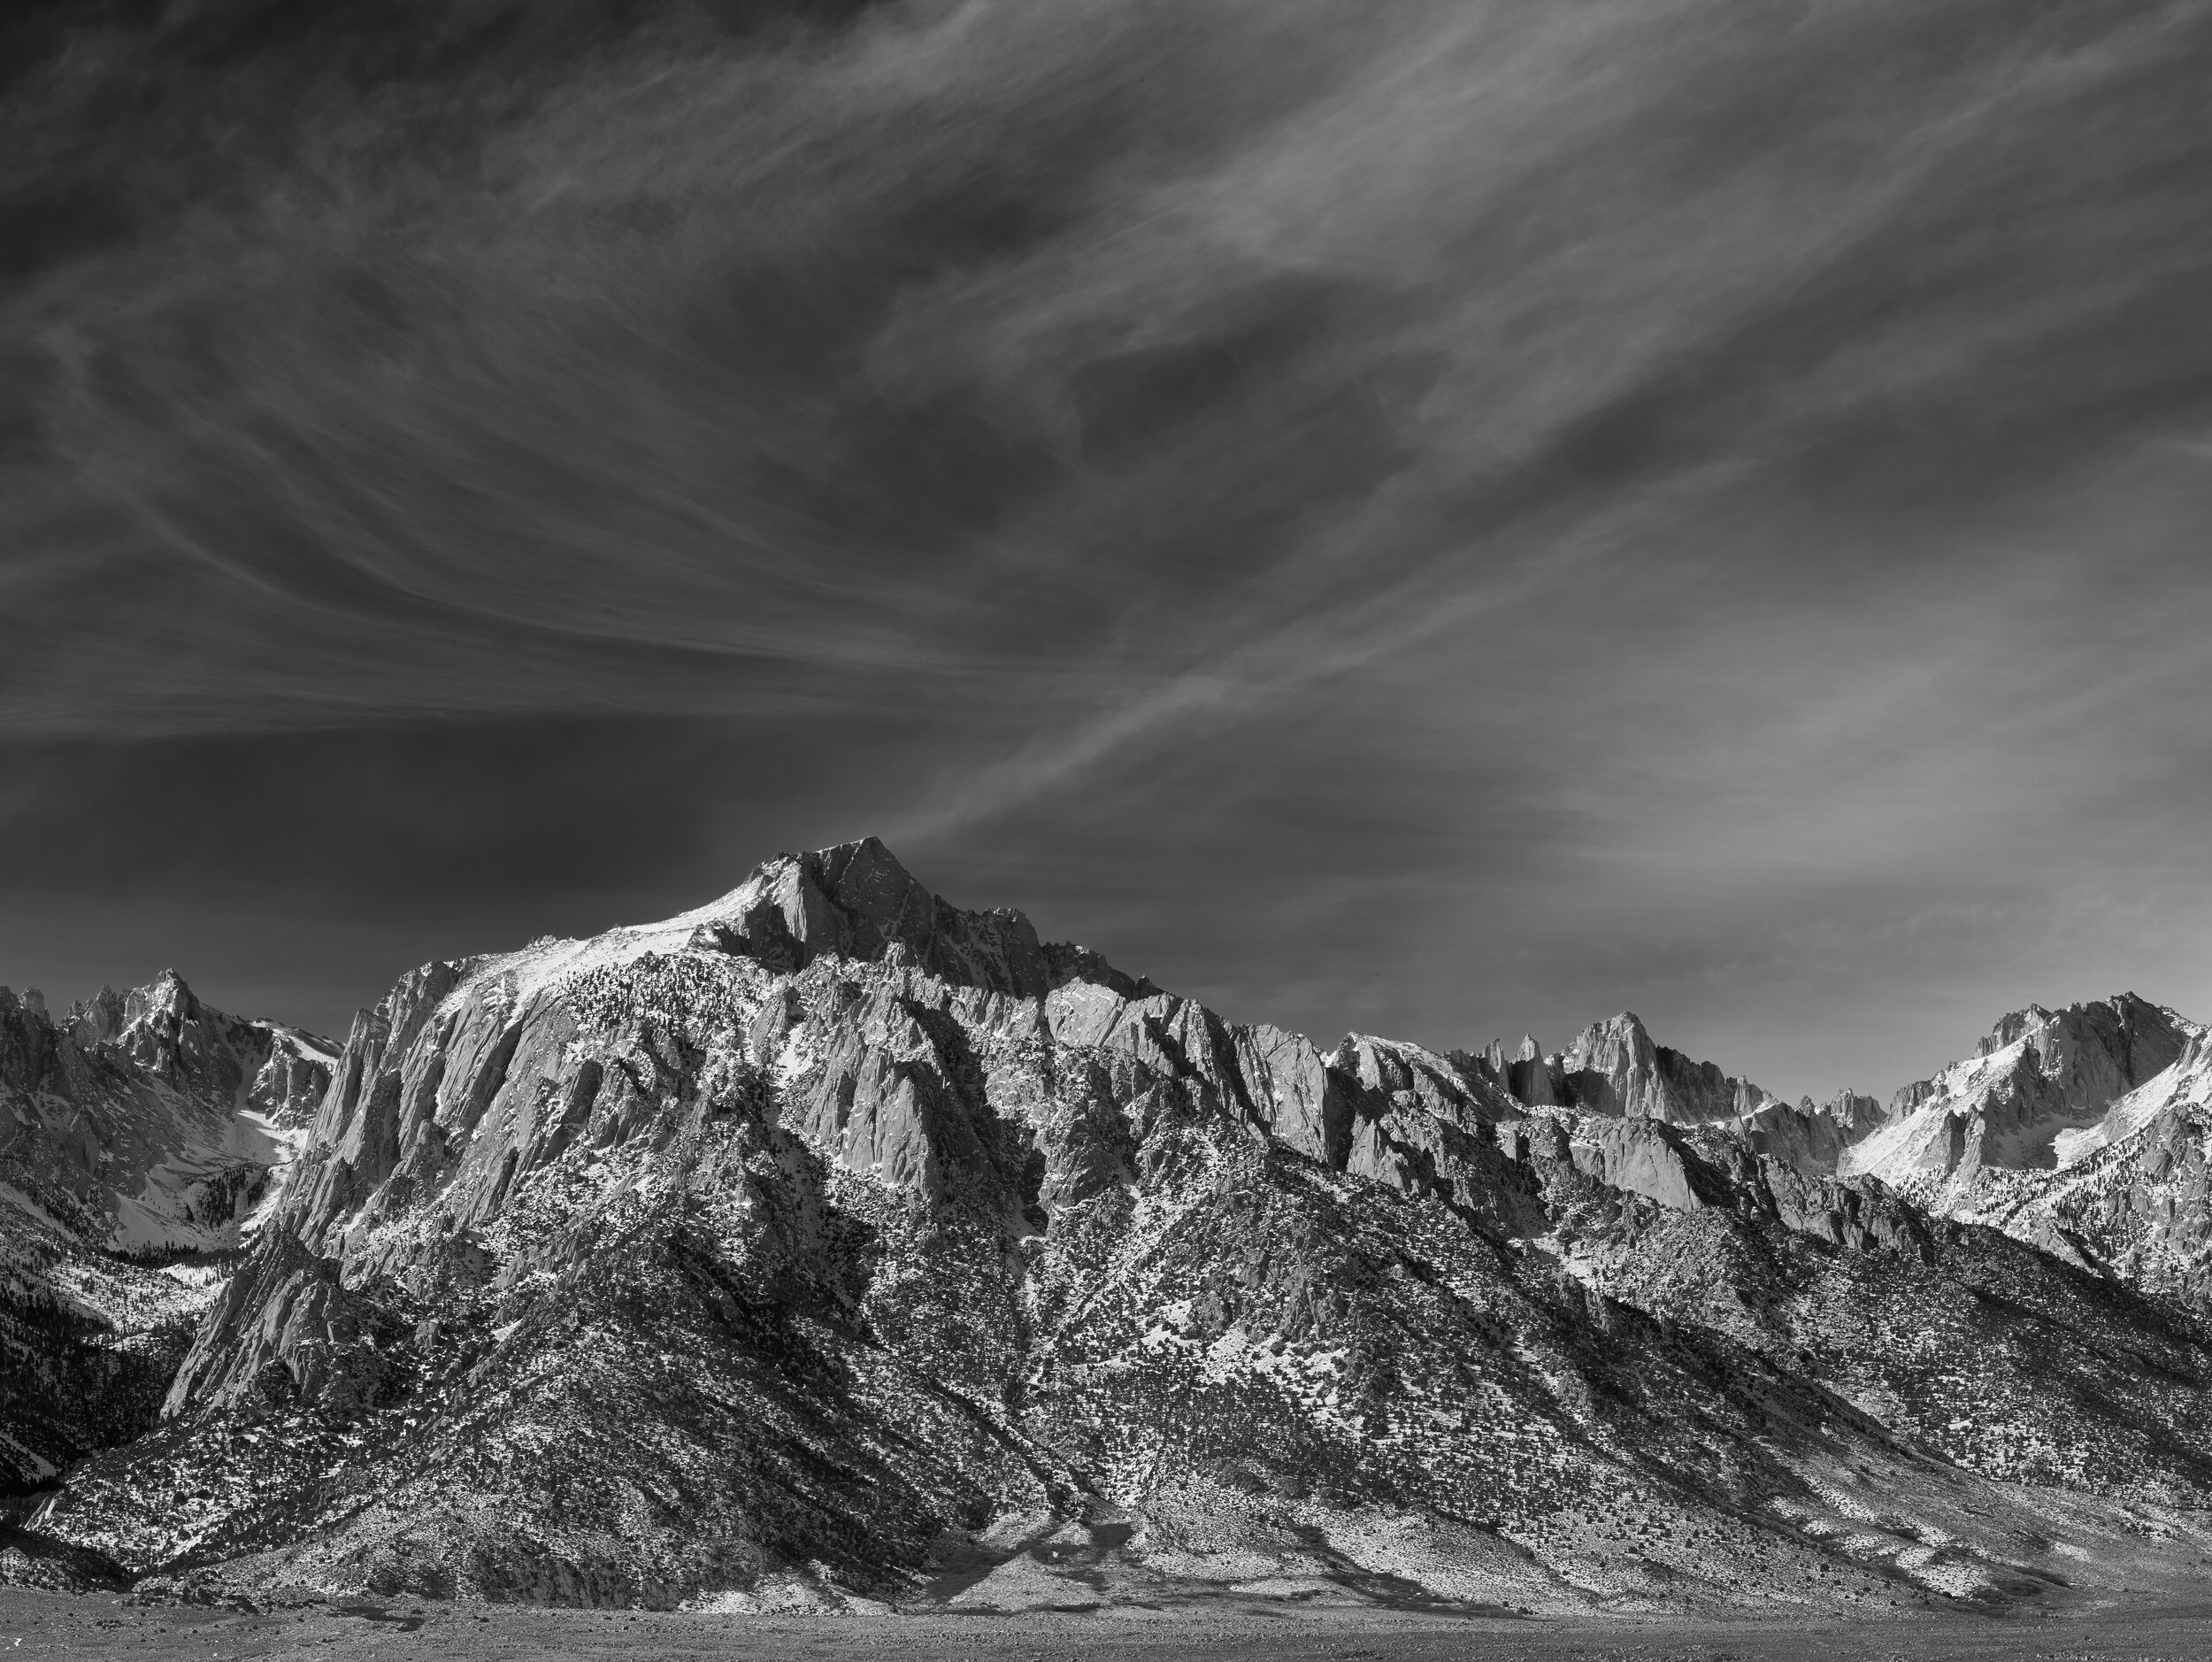
Waiting for the sun to rise near Mt Whitney
You should have scouted and pre-visualized your location the previous day. Get setup and start making test exposures at the first hint of light. Don’t be afraid to make 2-3 minute exposures in almost total darkness. As the sun begins to rise, look for alpenglow on the highest mountains and be ready to make new exposures as the light changes from blue to gold. Again, be ready to add ND as the light intensifies.

The West Quoddy Head Lighthouse is the easternmost point of the United States. We planned our sunset shot at the East Quoddy Head Lighthouse knowing that the West Quoddy Head Lighthouse was just a few miles away and ideal for sunrise.
Day 2 Breakfast
You’ll probably “feast” on 2-3 hours of the best photography of your trip before you begin to think about breakfast. But after the light transitions into daylight, head into town, grab a quick coffee and a pastry, or even sit down for a big breakfast. But remember, you’ve still got about two nice hours of light available to you. So eat quickly and get back out shooting. If you’re really hardcore, bring a breakfast bar and coffee to location and just shoot until brunch.
Day 2 Midday Wrap-up
By now you’ll have done a load of scouting, made some nice afternoon exposures (hopefully found some nice surprises), make a “big” evening golden/blue hour exposure and a “big” morning golden/blue hour exposure, and made some nice exposures in your morning adventure. With four great shooting sessions in the bag, it’s time to head home and start planning that next trip!