12 Essential Landscape Photography Tips (+2 Bonus Tips!)
Scout it out
This might sound counterintuitive, but on a photo trip you should spend 90% of your time finding new locations and making test compositions/exposures during the wrong time of day. Then evaluate those test shots carefully, determine the best time of day to execute the photos, and set up a shot list and return to the locations when the light is right. This will ensure that you’re in the right location, at the right time of day, and that you can sequence the most number of locations into your schedule.

I found this location, midday during a scouting session.

I returned a full 12 months later, snowshoed to the location first thing in the morning to create this image.
Get out of bed when it’s still dark
For photographers, twilight is a magical time. But some people will be surprised to know that it happens in the morning too! I am admittedly not a morning person in my day to day life, but when I’m on a photography trip I’m up at 4:30 a.m. and ready to go. For many locations, I’m setting up my camera in the dark and making test exposures at the first glimmer of twilight. Compose your first image in the dark based on the previous day's scouting. Blue hour and golden hour happen VERY quickly. Work efficiently and be adaptable to the conditions. Have your NDs, grads and polarizer at the ready.
When the morning photo feast ends, go enjoy a long brunch around 10:30 a.m., then spend the middle of the day scouting your next locations for the following sunset and sunrise.
The worse the weather, the better the photo

Ansel’s most famous image is called “Clearing Winter Storm” for a reason.
Every identifiable emotion can be communicated through clouds in your images. From happy little cotton balls to daunting and ominous thunderstorms, clouds are the photographer’s friend. Freshly laid snow and drizzling rain communicate to your audience the earth in her finest hours. So bundle up and get out there in “less than ideal conditions.” If you have the luxury of adjusting the shoot dates of your photography trips, watch the weather reports and try to be at your location on the first or last day of a passing weather event.
Know the rules and break them
Every photographer should know and use the rule of thirds. It’s almost always a great starting point when you’re thinking about your composition. But, as Ansel Adams has shown us many many times, the greatest images came from the unexpected rather than the textbook. Lower your horizon to communicate the grandeur of nature.
Make sure your horizon is level
If your intention is to have a level horizon, take the time to get it right. The more level the horizon, the less you’ll lose on the corners of your image when you’ve got to straighten it in post-processing. Set a personal goal of less than 1% rotational correction in post-processing. This will help you get the whole of the image right in camera. I’m a bit of a perfectionist. I like my horizons to be no more than 0.2% off from perfectly level in camera.
Don’t be afraid of heights
Ansel Adams built a camera platform on top of his car so that he could shoot from a high vantage point. While eye-level might be the easiest for operating your camera, it’s not always the best for composition. My recommendation is to get a tall and sturdy tripod with a ball head, and be willing to use it fully extended. I bring a 6 step ladder with me on photo trips. Pickup truck beds make great platforms too. Get up there!

This image was taken standing on a ladder, in the bed of a pickup truck. The lens was approximately 12 feet off the ground, resulting in the buck-rail fence becoming a nice foreground feature.
Take your time!
You arrive at an amazing location, see a great scene and immediately start snapping away. You’re feasting! In the excitement of the moment you were so excited about shooting, that you neglected to take a moment, walk around and really evaluate the scene critically to find the best composition. Amazing locations will always provide you with good images. The best images come from those who take their time to extract the best image from those amazing locations.
Make test exposures to check focus and composition
The single greatest benefit of digital photography is the ability to instantly review your images. I bring a lupe large enough to cover the rear screen of my camera. As soon as there is light, I’m blasting away making exposures and examining the gestalt of my composition on the rear screen. Use this time to make adjustments to your image and always zoom-in on various areas of your shot to check that the focus is tack sharp.
Respect Physics
The interaction between nature and machine, specifically photons and your camera, is crucial in capturing the best images. Test your lenses for their ideal f/stop range BEFORE your trip. Eliminate camera shake by using a good tripod, removing “wind catchers” like shoulder straps. Use the mirror-up or vibration delay feature on your camera. Make sure to set your camera on the base ISO setting (turn auto ISO off). Use IBIS when handheld, but be sure to turn it off when on the tripod. And finally, keep an eye on that histogram to avoid overexposure.

I snowshoed to this location. The wind was almost hurricane strength and the windchill was far below zero. But I made sure to look after the details of sharp focus, no clipping highlights, and no camera shake.
Alter time to make art
Freezing time is a very honest and noble way to make a photograph. But capturing the passing of time will turn your honest photograph into a work of art. Capturing the passing of time is the single most effective tool in creating emotion in a photograph, especially in instances where water is interacting with the earth. Waves crashing on the shore, running streams and passing clouds will become dramatic and ethereal, simply by using a ND filter.

The multi-second exposure creates a gorgeous mist effect as the waves crash against the rocks. The passing clouds become textural rather than literal representations of the weather.
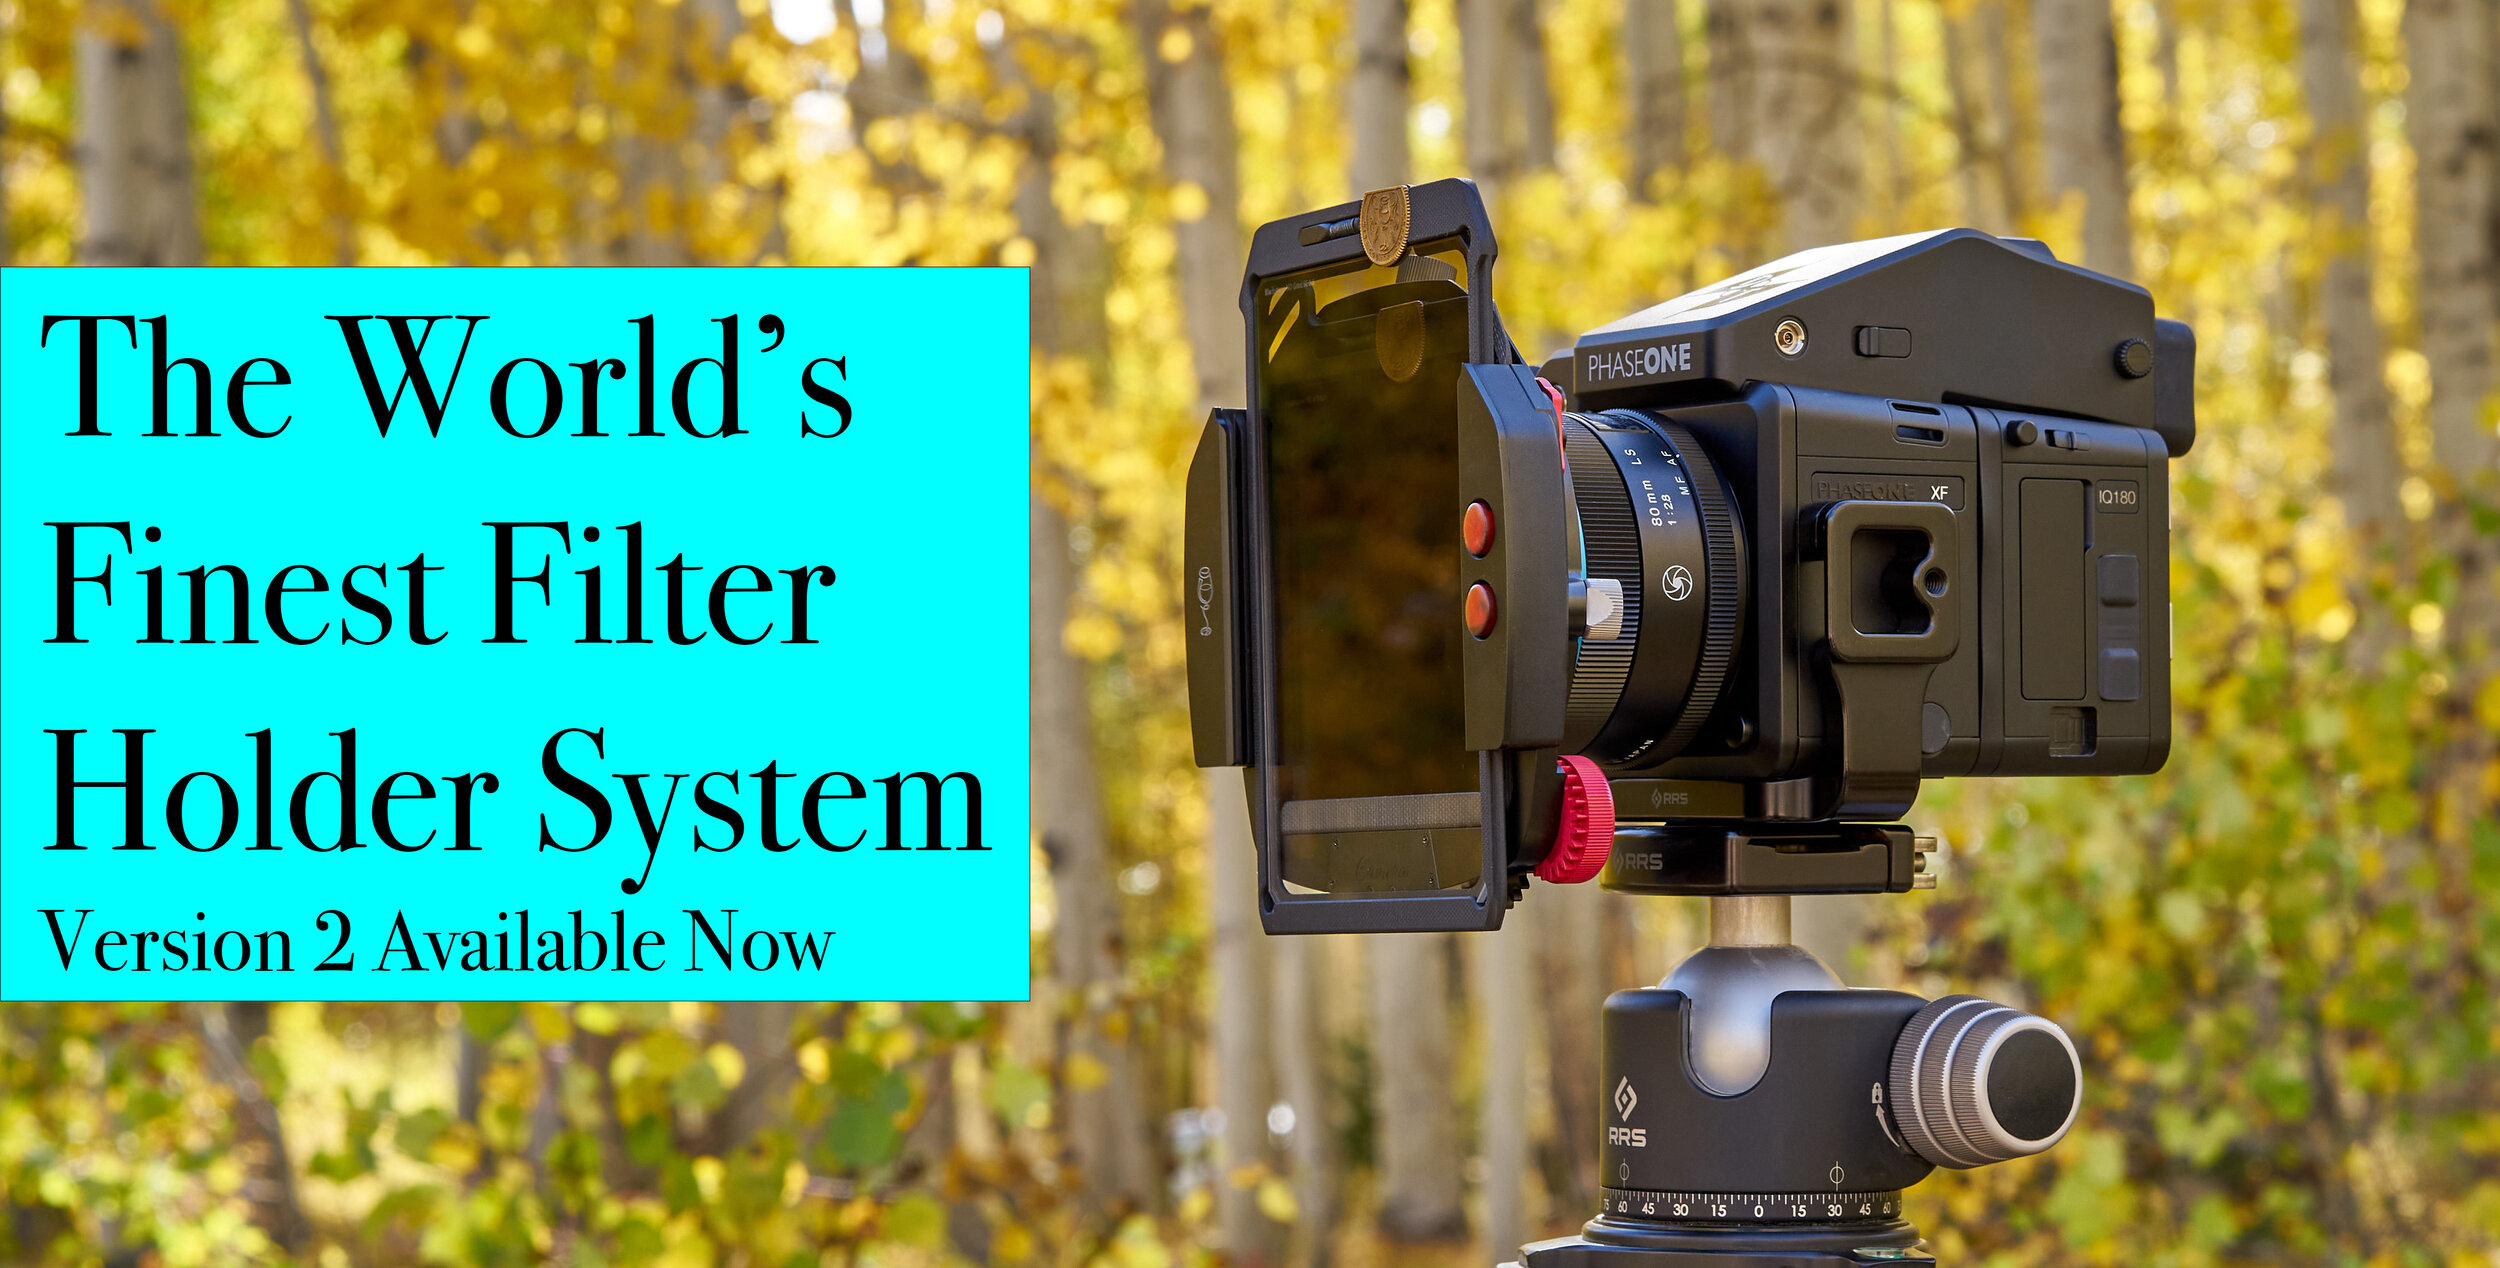
Have a grad filter at the ready
Grad filters have a very important function, to keep the highlights from clipping and causing you to lose data. Here are a few basic guidelines for using grads. First, if your audience can tell you’re using a grad, you’re using it wrong. Next, only use enough grad to prevent your highlights from clipping. Forcing the sky to be darker than necessary looks unnatural. And finally, experiment with both hard and soft edge grads to find the most natural transition for your composition.
Polarize correctly
Use polarizers to remove unwanted reflections, but be careful to not make foliage look unnatural. In color photography, use a polarizer to increase visual separation between clouds and sky, or to darken the blue of the sky. In black and white photography, use the blue channel slider to darken the sky, not a polarizer. For more information, read this article

The polarizer creates a strong composition by darkening the sky.
Be honest with you audience
It’s not my place to tell you the artist what you can and can’t do with your art. But I can make a suggestion. And my suggestion is this … be honest with your audience. I recently attended a lecture by a landscape photographer, who claimed that his images weren’t altered, but rainbows, lightning, sunrays, and star trails were all clearly photoshopped in. The artist was mocked relentlessly in a series of Facebook posts afterwards. If you’re going to do advanced photo compositing … be honest about it. Trust me, then photo viewing public can smell a rat.
Don’t over process
Instagram is filled with wannabe landscape photographers fishing for likes by sliding that saturation slider as far to the right as the possibly can. But after the quick dopamine hit from the bright shiny colors, you’re left staring at an image that isn’t going to age well over time. Respect yourself. Respect your art. Respect your audience. Make images that get less likes today, but have enduring qualities that will be rewarded tomorrow, and next year, and in the decades to follow.